Pickled Cherry Tomatoes, Onions, and Cucumbers: A Tangy & Vibrant Preserving Adventure 🥒🍅🧅✨
1. Introduction
If you’re seeking an irresistible way to preserve the vibrant flavors of summer vegetables, then **pickled cherry tomatoes** along with crunchy pickled onions and crisp cucumbers are perfect solutions. These homemade pickles not only enhance your salads and sandwiches but also add a delightful tangy kick to your appetizer spreads. By mastering the art of pickling, you can create a colorful, flavorful, and healthful addition to your pantry that strikes the ideal balance between acidity and crunch. Whether you’re an experienced preserver or just starting out, our comprehensive guide to making **pickled cherry tomatoes** and their flavorful companions will ensure consistently delicious results every time. Plus, learn how to incorporate these tangy delights into various dishes for a burst of freshness and flavor.
2. Ingredients for Perfect Pickled Cherry Tomatoes, Onions, and Cucumbers
- 2 cups pickled cherry tomatoes (preferably small, fresh cherry tomatoes)
- 1 cup thinly sliced pickled onions (red onions yield the best flavor and color)
- 1 cup sliced pickled cucumbers (use sea salt or kosher salt for brining)
- 2 cups white vinegar or apple cider vinegar
- 1 ½ cups water
- 2 tablespoons sugar
- 1 tablespoon salt (preferably non-iodized to prevent cloudiness)
- 2 cloves garlic, sliced
- 1 teaspoon black peppercorns
- 1 teaspoon mustard seeds
- Fresh dill sprigs (optional for additional flavor)
3. Step-by-Step Instructions to Make Pickled Cherry Tomatoes, Onions, and Cucumbers
Preparing the Vegetables
Begin by thoroughly washing your **pickled cherry tomatoes**, onions, and cucumbers. Slice the onions thinly to ensure they pickle evenly and develop a tender texture. Slice the cucumbers into thin rounds for maximum crunch and flavor. Set all the prepared vegetables aside for assembly.
Making the Pickling Brine
In a medium saucepan, combine the vinegar, water, sugar, and salt. Bring the mixture to a gentle boil over medium heat, stirring occasionally until the sugar and salt are fully dissolved. This fragrant, tangy brine will infuse each vegetable with its characteristic tartness and flavor. For a more aromatic touch, consider adding a few bay leaves or crushed red pepper flakes.
Filling the Jars
Layer the prepared **pickled cherry tomatoes**, onions, and cucumbers into sterilized jars. Add slices of garlic, peppercorns, mustard seeds, and dill sprigs if using. Leave enough headspace at the top for the brine, ensuring all vegetables are fully submerged for proper pickling. Using clean utensils, gently tap the jars to release any air bubbles.
Pouring the Brine
Carefully pour the hot brine over the vegetables until fully covered, maintaining about ½ inch headspace. Wipe the rims of the jars with a clean cloth, then seal tightly with sterilized lids. Let the jars cool to room temperature before refrigerating.
Sealing and Storage
For optimal flavor development, store the jars in the refrigerator for at least 24-48 hours. For more intense flavor, wait about a week before opening. The **pickled cherry tomatoes**, onions, and cucumbers will stay fresh and delicious for up to 2 months when stored properly. Check for signs of spoilage before consumption, especially if not processed in a water bath canner.
4. Storage Tips for Long-lasting & Flavorful Pickled Vegetables
Keep your **pickled cherry tomatoes**, onions, and cucumbers in airtight jars in the refrigerator for best results. Always use clean utensils when removing vegetables to prevent contamination. Proper storage can extend their freshness for up to 2 months. For longer shelf life, consider using a water bath canning method to process jars for shelf stability, freeing you from refrigeration.
5. Serving Suggestions and Creative Uses for Pickled Cherry Tomatoes, Onions, and Cucumbers
Your homemade **pickled cherry tomatoes** and companion vegetables are incredibly versatile. Serve them atop salads or as a vibrant addition to cheese platters for a tangy note. They make excellent toppings for grilled meats or poultry, adding a burst of acidity that complements savory dishes. Incorporate them into sandwiches or tacos for extra flavor, or give them a starring role in antipasto boards. Don’t forget that the pickling brine itself can be repurposed to create flavorful vinaigrettes or marinated vegetables. For inspiration, check out our [Burger Bowls](https://spoonella.com/burger-bowls-easy-and-delicious-dinner-ideas/) or [Tomato Zucchini Pasta](https://spoonella.com/tomato-zucchini-pasta/), which incorporate fresh vegetables and bold flavors seamlessly.
6. FAQs About Pickled Cherry Tomatoes and Related Vegetables
How long do homemade pickled cherry tomatoes last?
When stored in the refrigerator in airtight jars, **pickled cherry tomatoes** typically remain fresh and flavorful for up to 2 months. Always inspect for signs of spoilage such as unpleasant odors, mold, or sliminess before consuming.
Can I use different vinegar types for pickling?
Absolutely! You can substitute white vinegar with apple cider vinegar or rice vinegar to create a different flavor profile. Just remember that the acidity level and flavor will slightly vary, so adjust your spices accordingly for the best results.
What vegetables pair best with pickled cherry tomatoes in a pickling jar?
Excellent choices include radishes, bell peppers, carrots, or green beans. Combining a variety of pickled vegetables makes for a colorful and flavorful platter, perfect for appetizers or side dishes.
7. Benefits of Making Your Own Pickled Cherry Tomatoes & Vegetables
Taking the time to preserve your own **pickled cherry tomatoes**, onions, and cucumbers gives you full control over ingredients. Homemade pickles avoid preservatives and artificial additives, allowing you to enjoy fresh, natural flavors year-round. Plus, the process is rewarding and cost-effective, offering endless opportunities to experiment with different herbs, spices, and vegetables. It’s a fun way to utilize garden abundance or seasonal produce and impress family and friends with your kitchen skills.
8. Final Tips for Perfect Homemade Pickled Vegetables
- Ensure jars are properly sterilized to prevent spoilage — consider boiling them for 10 minutes.
- Use the freshest vegetables for the best texture and flavor.
- Adjust spice levels, like adding more garlic or chili flakes, to taste.
- Be patient — allow the vegetables to sit for at least 48 hours for the flavors to meld deeply.
- Feel free to experiment with different herbs such as thyme or basil for personalized variations.
9. Conclusion
Homemade **pickled cherry tomatoes** combined with crunchy **pickled onions** and refreshing **pickled cucumbers** are a versatile and vibrant addition to any pantry. Their tangy, savory flavor profile elevates salads, sandwiches, and antipasto platters while adding a healthful touch to your meals. With simple ingredients and straightforward techniques, you can master the art of pickling and enjoy delicious, handcrafted preserved vegetables all year round. Whether you’re preparing snacks for a gathering or enhancing everyday dishes, these pickled delights promise a burst of flavor and a touch of homemade charm. Start your pickling journey today and savor the delightful taste of your own homemade preserved vegetables!
Print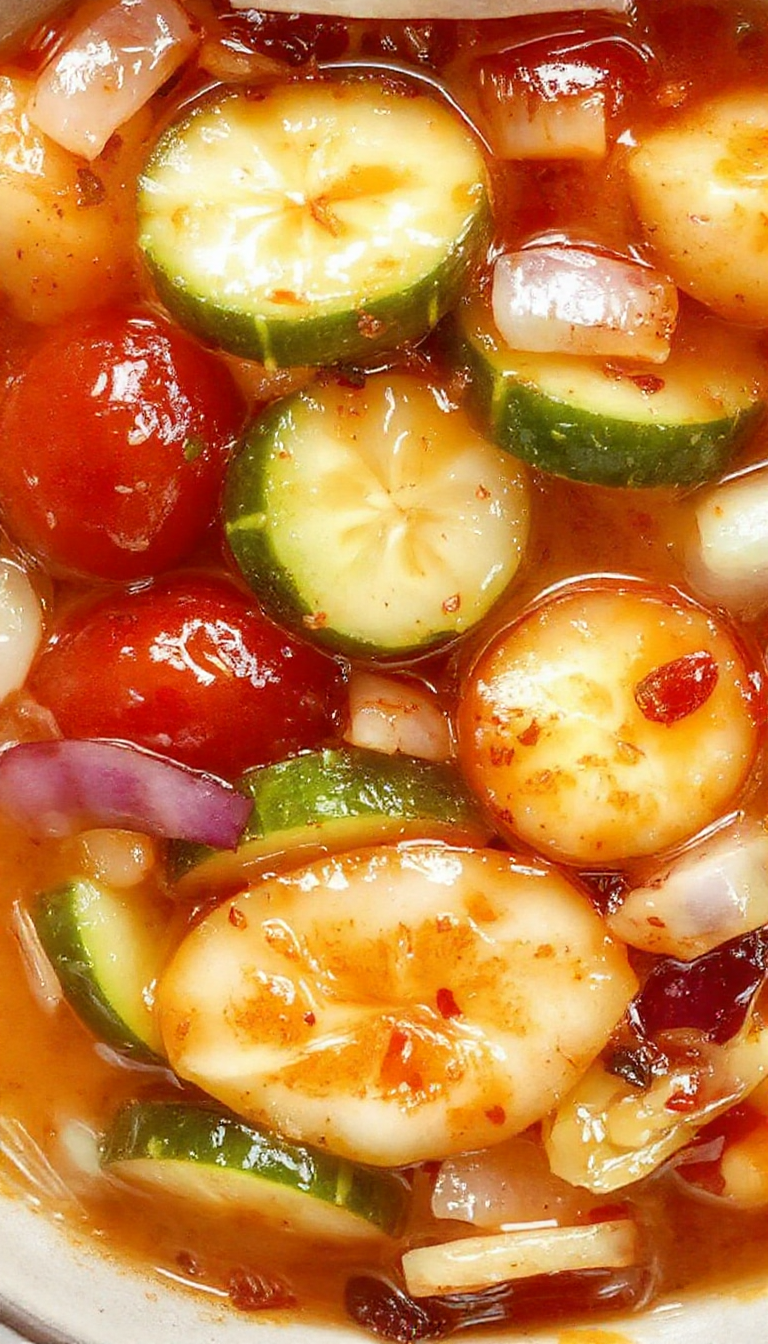
Pickled Cherry Tomatoes, Onions, and Cucumbers
Discover the vibrant and tangy world of homemade Pickled Cherry Tomatoes, Onions, and Cucumbers. This easy recipe offers a delightful preservation method that enhances your salads, sandwiches, and appetizers with bold flavors and crisp textures. Perfect for summer produce lovers and home cooks wanting to explore preservation techniques with a colorful twist.
- Total Time: 25 minutes + chilling
- Yield: 4-6 jars
Ingredients
- 2 cups pickled cherry tomatoes (small, fresh cherry tomatoes)
- 1 cup thinly sliced pickled onions (red onions recommended)
- 1 cup sliced pickled cucumbers (sea salt or kosher salt for brining)
- 2 cups white vinegar or apple cider vinegar
- 1 ½ cups water
- 2 tablespoons sugar
- 1 tablespoon salt (non-iodized)
- 2 cloves garlic, sliced
- 1 teaspoon black peppercorns
- 1 teaspoon mustard seeds
- Fresh dill sprigs (optional)
Instructions
- Start by thoroughly washing the cherry tomatoes, onions, and cucumbers. Slice the onions thinly and cucumbers into thin rounds.
- In a medium saucepan, combine the vinegar, water, sugar, and salt. Bring to a gentle boil, stirring until sugar and salt dissolve.
- Layer the prepared vegetables into sterilized jars, adding garlic slices, peppercorns, mustard seeds, and dill if using, leaving space at the top.
- Pour the hot brine over the vegetables, ensuring they are fully submerged. Remove air bubbles gently.
- Tightly seal the jars and let cool to room temperature. Refrigerate and allow flavors to develop for 24-48 hours, optimal after one week.
Notes
- Use fresh, high-quality vegetables for best results.
- Ensure jars are properly sterilized to prevent spoilage.
- Adjust spice levels to taste by adding more or less garlic, peppercorns, or mustard seeds.
- Allow at least one day to let flavors meld, though waiting a week enhances taste.
- For long-term storage, process jars in a water bath canner for shelf stability.
- Prep Time: 15 minutes
- Cook Time: 10 minutes
- Category: Preserves
- Method: Pickling
- Cuisine: Modern homemade
- Diet: Vegan, Vegetarian
Nutrition
- Serving Size: 1 jar (about ½ cup)
- Calories: 20 Kcal
- Sugar: 2g
- Sodium: 150mg
- Fat: 0g
- Saturated Fat: 0g
- Unsaturated Fat: 0g
- Trans Fat: 0g
- Carbohydrates: 4g
- Fiber: 1g
- Protein: 0g
- Cholesterol: 0mg